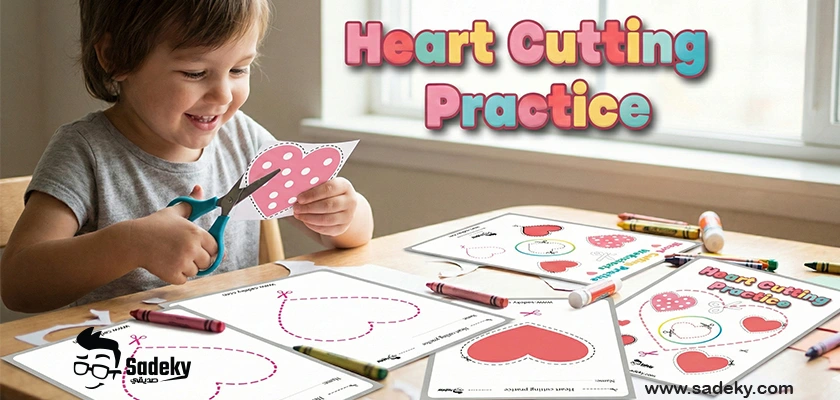
As any parent or preschool teacher knows, handing a pair of scissors to a child for the first time is a mix of excitement and anxiety. You want them to learn, but you also want them to be safe and successful.
I remember the first time I tried a cutting activity in the classroom. The frustration was real—paper tearing, awkward hand positions, and lots of “I can’t do it!” moments.
That’s exactly why we designed this specific heart cutting practice resource for Sadeky.
We realized that kids don’t just need boring lines to cut; they need a goal. They need to create something beautiful that makes them proud. This isn’t just a worksheet; it’s a “Mission: Decoration” for your little ones.
Why “Hearts” Are the Perfect Challenge for Little Hands ?
You might wonder, why start with hearts?
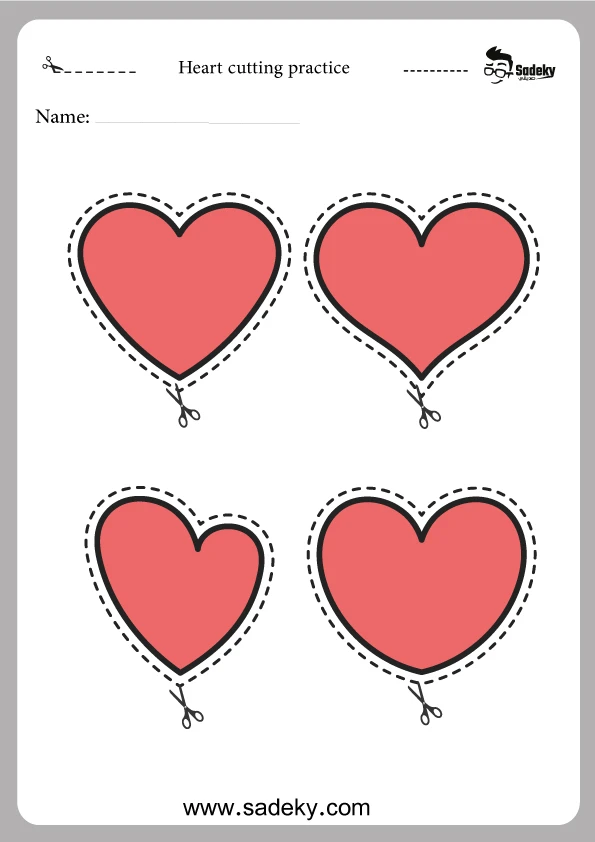
From an educational perspective, heart shape cutting sheets practice offers a unique developmental advantage. Unlike squares (straight lines) or circles (continuous curves), a heart combines two distinct movements:
- The Curve: Navigating the rounded top requires the child to gently turn the paper with their “helper hand” while the “cutting hand” stays steady.
- The Pivot: The sharp point at the bottom and the dip at the top teach children how to stop, reposition the scissors, and restart.
This helps build bilateral coordination—the ability to use both sides of the body together—which is a critical pre-writing skill.
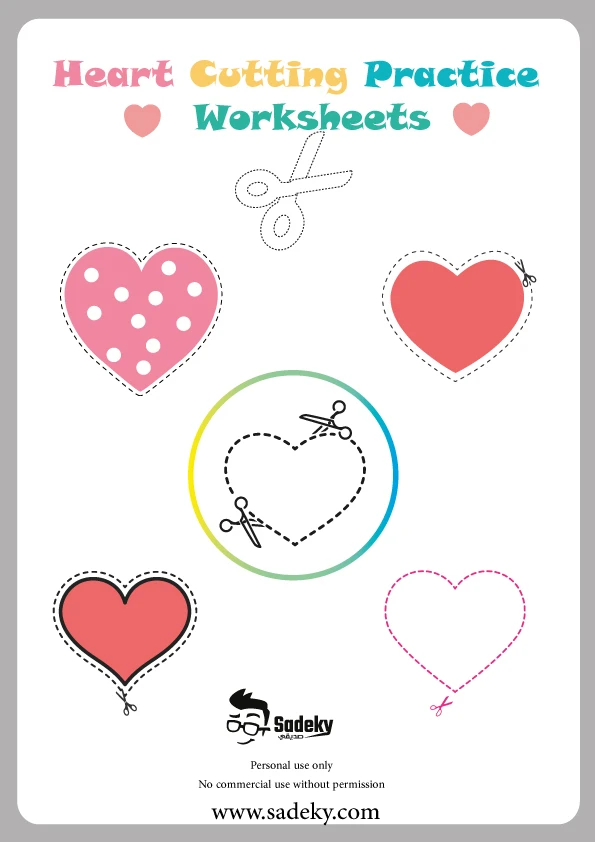
What’s Inside This Free Printable?
We wanted to create something that extends beyond the cutting board.
Most scissor practice sheets for Kids end up in the recycling bin five minutes later. But our printable is designed to be kept and displayed.
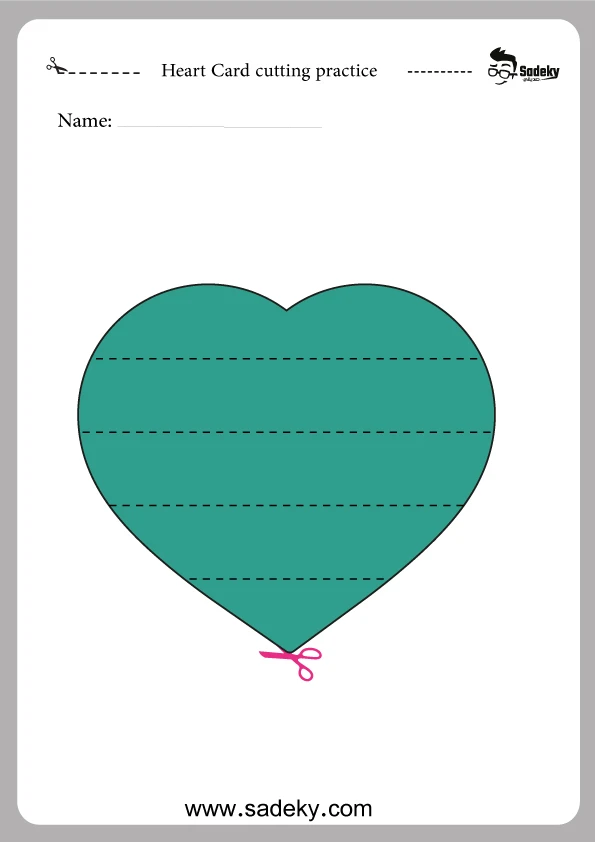
The “Heart Banner” Concept: This free PDF contains a series of heart-shaped outlines, each featuring a letter or decorative element. When cut out and strung together, they form a festive “Decoration String” or Garland.
- Theme: Celebration / Decoration / Love.
- Difficulty Level: Beginner to Intermediate (Thick lines for success).
- Usage: Classroom decor, bedroom door signs, or party backdrops.
Related: Cutting Activities for Kids Printable
Real-World Tips for Success (Experience)
Having guided hundreds of little hands through this process, here are my top “tried-and-true” tips to make this activity smooth for you and your child:
1. The “Thumbs Up” Rule
The most common mistake beginners make is holding scissors upside down. Draw a little smiley face on your child’s thumbnail. Tell them, “The smiley face always wants to look at the ceiling!” This simple visual cue works wonders.
2. Cardstock is Key
While you can print our heart cutting practice preschool sheets on regular printer paper, I highly recommend using Cardstock (65lb or similar).
- Why? Regular paper is flimsy and flops over when a child tries to cut curves, leading to frustration. Cardstock stays rigid, making it easier for the scissors to glide through the “heart” shape.
3. Elbows In!
Watch your child’s elbows. If they are “flying” out like chicken wings, they lose stability. Encourage them to keep their elbows tucked near their ribs for better control.
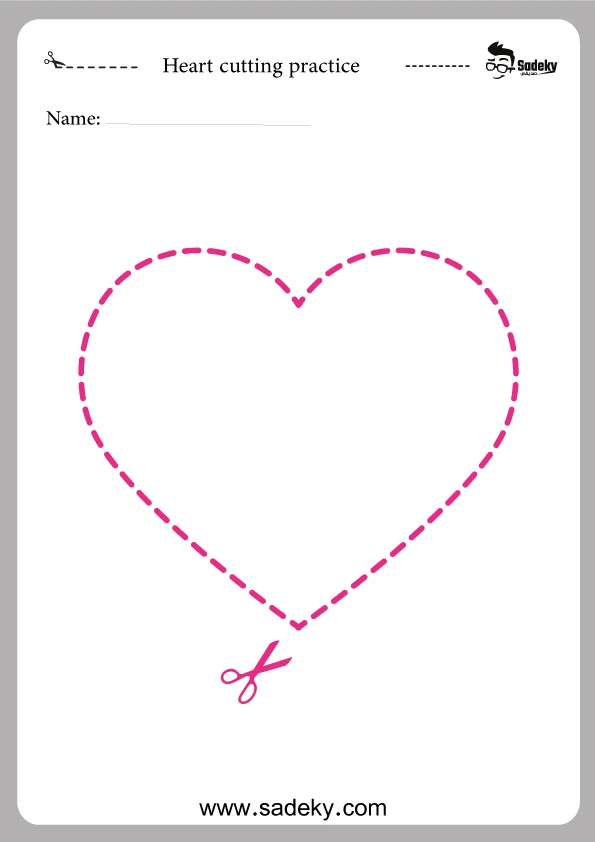
Step-by-Step: How to Use These Heart Shape Cutting Sheets
Ready to get started? Here is how to turn this heart shape cutting sheets practice into a fun afternoon activity.
Step 1: Download & Print Scroll to the bottom to grab the high-quality PDF. If this is for a class, print enough copies so every student contributes a “heart” to the classroom banner.
Step 2: Pre-Cut (Optional) For very young toddlers (ages 3-4), the full sheet might be too much to handle. You can roughly cut around the heart first to remove excess paper, giving them a smaller, manageable piece to work with.
Step 3: Color First, Cut Second This is a pro-tip! It is much easier for a child to color the hearts while they are still on the full sheet of paper. Once they cut it out, the coloring goes all the way to the edge, looking professionally finished.

Step 4: The Cutting Phase Guide them to follow the thick black lines. Remind them to turn the paper, not the scissors, especially around the tricky top curves of the heart.
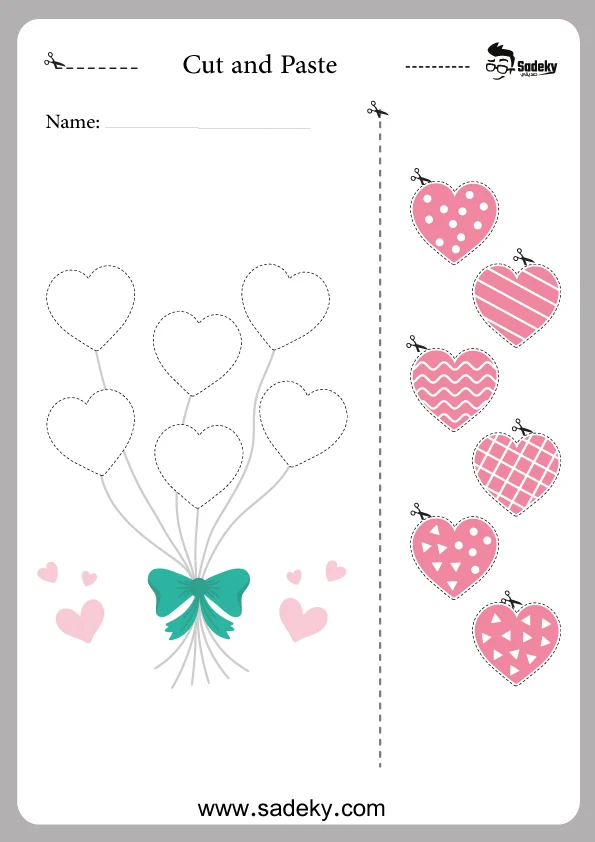
Step 5: Assembly (The Fun Part!)
- Use a hole puncher to create holes in the designated spots on the heart lobes.
- Thread a piece of yarn, ribbon, or twine through the hearts.
- Challenge: Ask the child to arrange the hearts in a specific order (e.g., A-B-C or 1-2-3) before stringing them. This adds a literacy or math component to the craft!
Perfect for Valentine’s Day and Beyond
While these make fantastic Cut out hearts shapes for valentine day, their utility is year-round.
- Mother’s Day: Create a “WE LOVE MOM” banner.
- Ramadan & Eid: Use the lantern-style hearts to decorate the home (a favorite for our Sadeky community!).
- Birthday Parties: A handmade garland is sweeter than any store-bought decoration.
See: Printable Happy Birthday Display
Related: Cut and glue animals Printable
A Note on Safety (Trustworthiness)
Safety is our priority at Sadeky.
- Always supervise children during scissors activities.
- Ensure you are using age-appropriate, blunt-tip safety scissors designed for preschoolers.
- If a child gets tired, stop. Fine motor fatigue is real, and pushing through it can lead to slip-ups.
Download Your Free Heart Cutting Practice PDF
We are passionate about making high-quality educational resources accessible to everyone. You don’t need a subscription or a credit card—just a printer and a desire to teach.
Download Heart Cutting Practice Free
- File Format: High-Resolution PDF
- Size: A4 / Letter Friendly
- Cost: 100% Free
If you found these scissor practice sheets for Kids helpful, please share this link with your school district, homeschooling group, or fellow parents.
Helping a child master a new skill is a journey of a thousand snips. Let’s make the first one count!